Setup MySQL DB in Eclipse
Foreword
ZK framework’s architecture allows you to use any database. Here we just give you some hints on how you can connect to MySQL in Eclipse, and such configuration is independent of ZK framework.
To see a simple ZK-based example with a database, please check ZK Essentials
Prerequisite
1. The Data Tools Platform (DTP) is required for setup DB connection, the Eclipse IDE for Java EE Developers distribution of Eclipse we mentioned in this book has already included DTP, so in most case it is not necessary to do extra Eclipse DTP plug-in installation.
2. Download MySQL Connector/J:
choose “Platform independent” and download the zip version extract the zip file to a
proper location.
Note. Different versions of Eclipse may have different settings. Please reference Eclipse official documents if the samples/links listed in this page are not matching what you are using.
Setup Database Connection in MySQL
-
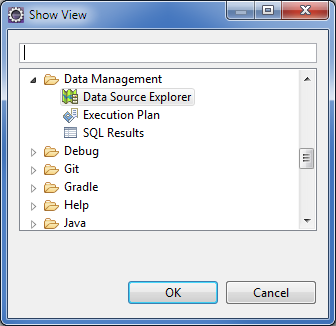
Open Data Source Explorer via Window \ Show View \ Other… \ Data Management \ Data Source Explorer:
-
Right click the Database Connection folder, select New….

-
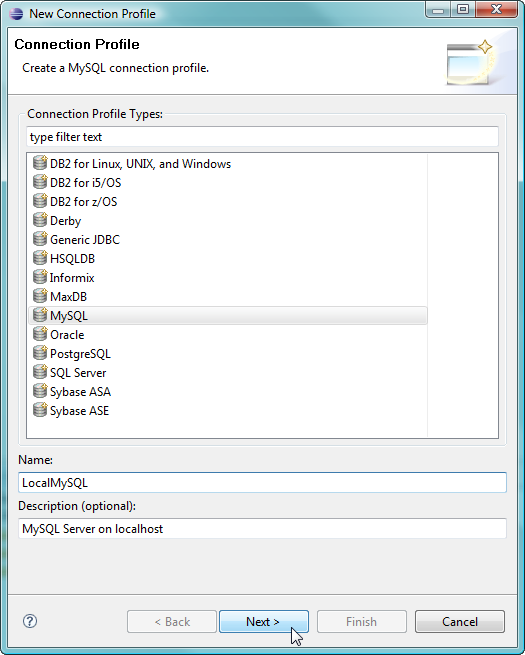
Select the Database you suppose to connect ( MySQL 5.1 as the example in this document), you can type a custom name and description for mnemonic, click Next.
-
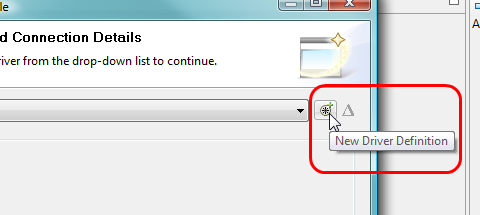
On next page, click the New Driver Definition icon next to the Drivers: listbox.
-
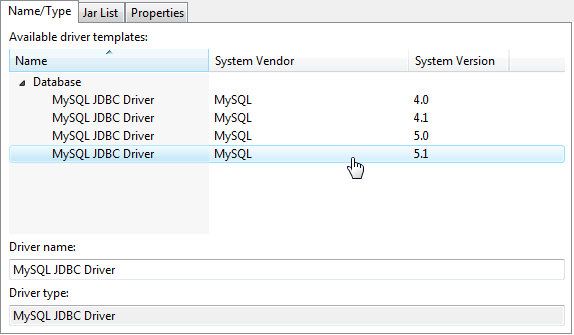
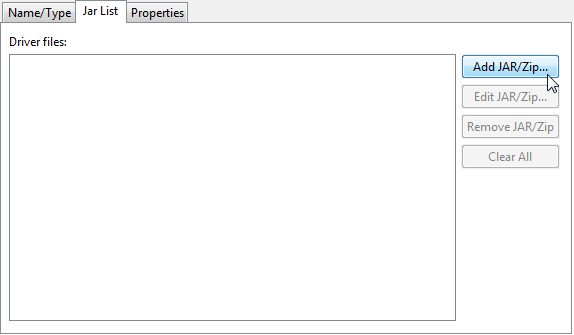
In the popup window, select the Database Version in Name/Type tab.
Switch to Jar List tab, click Clear All
to clear the default false jar file location.

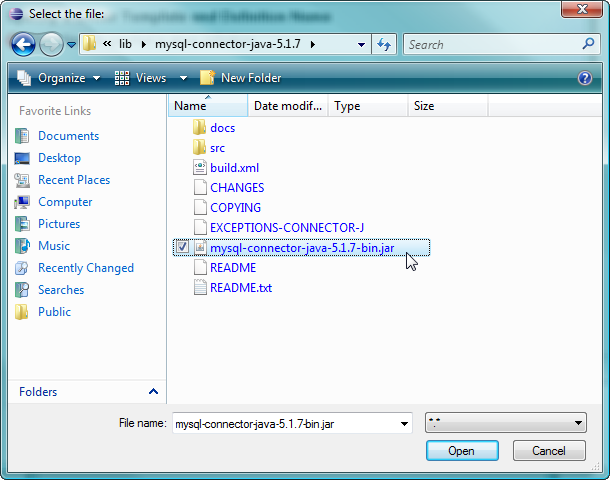
then click Add JAR/Zp….
Locate the jar file inside the folder that just extracted from
downloaded MySQL Connector/J zip file.
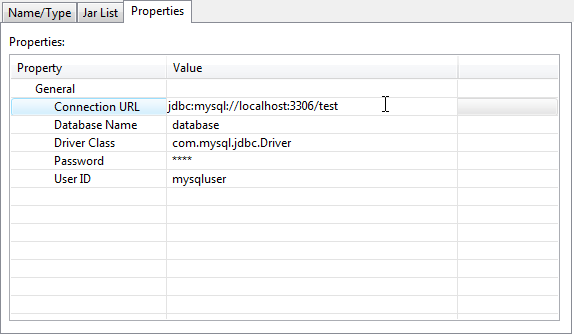
Switch to ‘“Properties” tab, modify the database connection setting according to your MySQL Database configuration, then click OK.
Note: The JDBC URL format for MySQL Connector/J is as follows, with items in
square brackets ([]) being optional:
jdbc:mysql://[host:port],[host:port].../[database][?propertyName1][=propertyValue1][&propertyName2][=propertyValue2]...
If the hostname is not specified, it defaults to 127.0.0.1. If the port
is not specified, it defaults to 3306, the default port number for MySQL
servers. In above image the database name is test
jdbc:mysql://localhost:3306/test
To verify if the setup is functional, click Test
Connection.
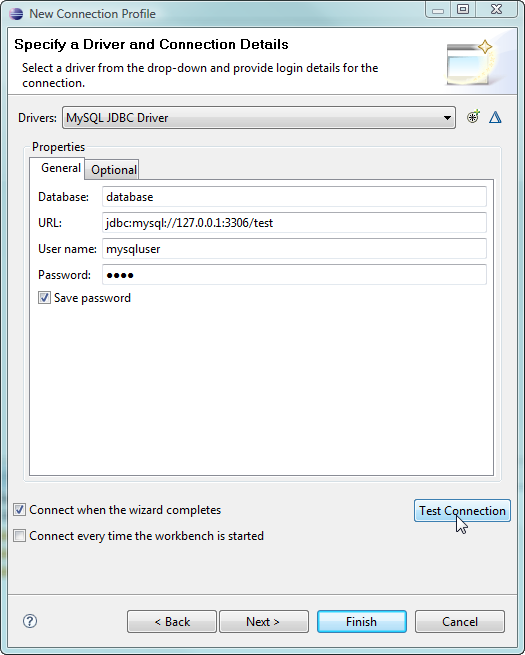
It should pop up a Ping succeeded message, Click
OK to continue.
Note: Make sure the MySQL database is up and running. If it is not running, the Test Connection will fail. If you don’t know how to find if MySQL is running then please google search it
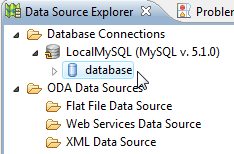
Press Finish to
close the setup wizard window, And you should be able to see there’s a
Database icon in the Database Connections folder.
Note
- Firewall of the System that install Database or security setting of the Database may prevent you from connect the DB successfully.
- If you had specify the right MySQL Connector/J jar file before,
then Step 4 & 5 can be skipped, you can directly modify the
following field to match your MySQL Database configuration:

then proceed the subsequent steps to finish setup.